How to make an ORCHID. Guide / download. ENGLISH
69,00 kr.
How to make an ORCHID. Guide / download. ENGLISH
69,00 kr.
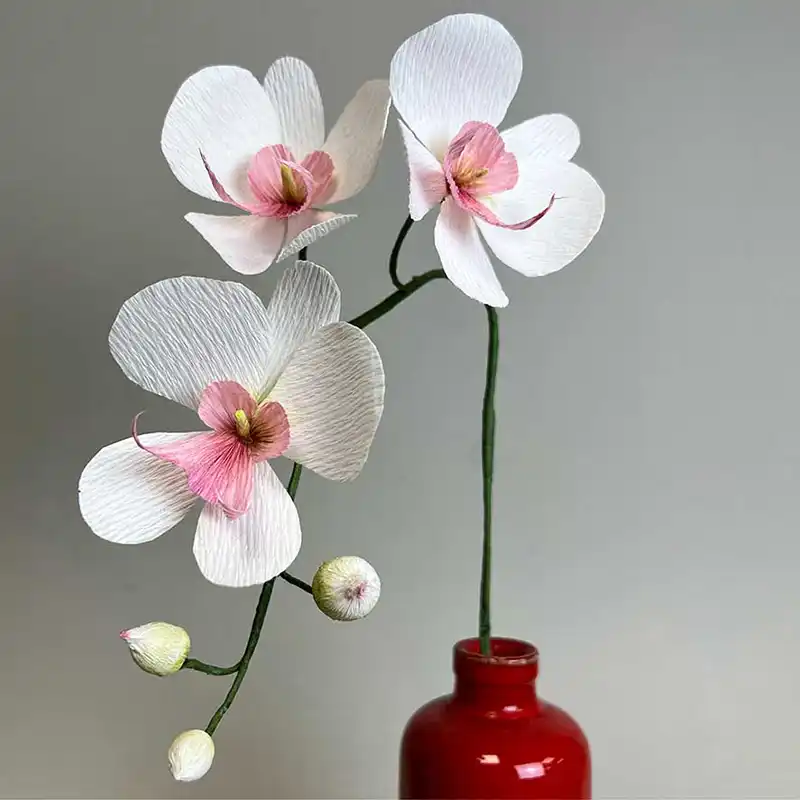
Guide to Making an Orchid
Learn how to create a stunning orchid with this detailed guide.
Skill Level: Advanced
Incl. drawings, pictures, guide- and videoclips.
Instant delivery, by mail.
Guide to Making an Orchid
Learn how to create a stunning orchid with this detailed guide.
Skill Level: Advanced
The orchid is a beautiful plant known for its long flower stems. Now, you can craft one that will last forever if you take care of it.
This guide includes instructions for crafting the flower and bud, as well as assembling the entire piece. Additionally, you’ll learn how to extend the stem, place it in a pot with floral foam, and embellish it with green leaves.
The guide contains a list of materials, step-by-step instructions with illustrations for each stage, and video clips at selected points to clarify and assist with the more challenging parts.
Once you’ve purchased the guide, it will be sent to you via email along with your receipt. Simply click the link to download it to your computer, and make sure to save it for future use. The guide can be printed in A4 size.
Materials needed for the orchid:
- Italian crepe paper (180G/250%)
- Color 1 of your own choise:: For the large outer petals.
- Color 2 of your own choise: For the inner petals, typically a darker shade than the outer petals.
- For the stamens in the center: Lime green or yellow.
- For the stems: Green crepe paper.
- If you want the orchid in a pot: Green crepe paper for leaves + a pot with floral foam (oasis).
- Double-sided tape (6.5 cm wide) or tacky glue for making doublesided paper.
- Heavy wire´for stem, approximately 1,1 mm thick, 30–40 cm long: 1–3 pieces, depending on the desired stem length.
- Steel wire (0.9 mm): 5–10 pieces, depending on the number of buds and flowers you want on the stem.
- Cotton balls for buds, 12–15 mm: 3–5 pieces in total (or make the buds using air-dry clay).
- Tacky glue for assembly.
You will also need a good pair of scissors for cutting paper and a pair of needle-nose pliers. A hot glue gun is also highly recommended.
The guide includes text, drawings, videos, and photos by Tina Krøyer. All parts are copyrighted, so copying, sharing, or forwarding is not permitted. The guide is for personal use only.
Andre kigger også på
Relaterede varer
-
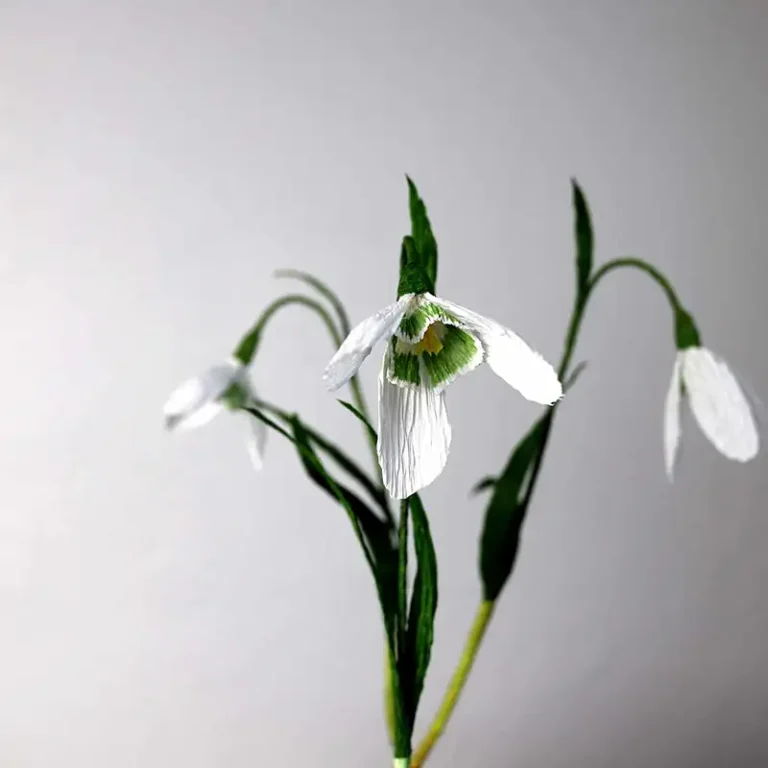
How to make a snowdrop in crepepaper. Guide / download. ENGLISH
57,00 kr. -
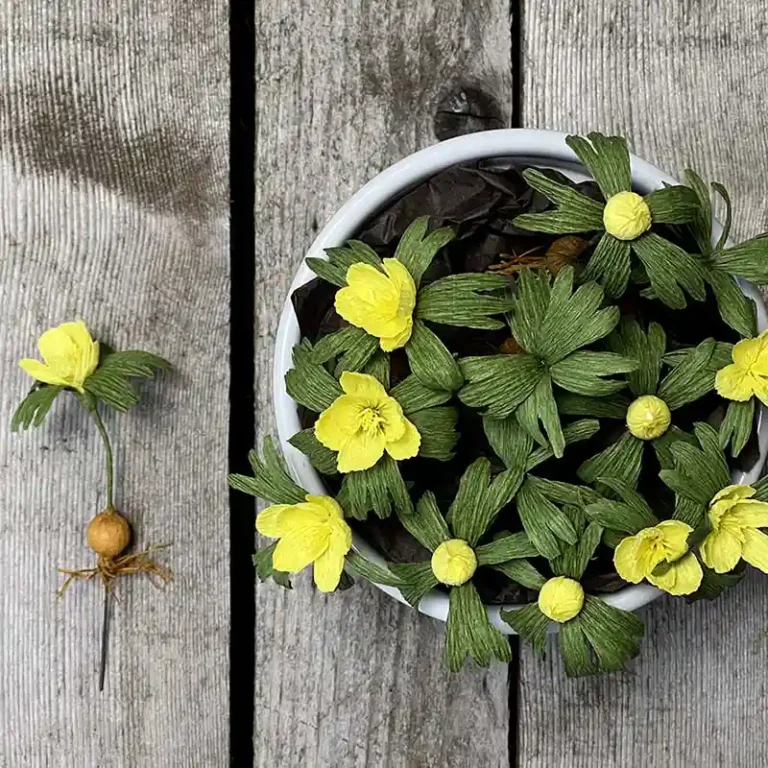
How to make a WINTER ACONITE. Guide/download. ENGLISH
59,00 kr.